This page contains affiliate links. If you make a purchase through these links, Everbook Ninja earns a commission at no additional cost to you.
Build Your Own Everbook
Duct Tape Everbook Cover: Supplies & Instructions
Tactical. Versatile. Resourceful.
Create your own Everbook cover for a one-of-a-kind flexible, modular, perpetual productivity tool.

To build your own Everbook, you'll need to select the material and color you'd like. Duct tape and gaffer tape both make good options, each coming in a variety of colors, allowing you to create something perfectly unique.


Simply Genius: Patterned Duct Tape
Neon Shark, Blue Waves, Cat Party, Chick Party, Cosmic Unicorns, Dark Universe, Love Birds, Night Flower, Noir Owl, Pastel Tie Dye, Peacock Feathers, Variety Pack

A handful of additional tools will be needed to complete the project. The most important of these are listed here. Many people already have most of these around the house.

You'll need a reliable measuring tape to provide guidance for acquiring the right dimensions of this project.

Also known as chipboard, this material will provide important structure to the final Everbook cover.

For this project, you'll want a solid pair of scissors that can comfortably cut through multiple layers of duct tape.
How to Make your own Everbook Cover
Congratulations on taking this first, big step in amping up your analog productivity suite! Below are step-by-step directions, walking you through how to make an Everbook cover out of duct tape. Please note, that this project assumes you'll be using half-letter sized paper (5.5"x8.5") inside of your Everbook. If using a different paper size, please modify recommended measurements below.
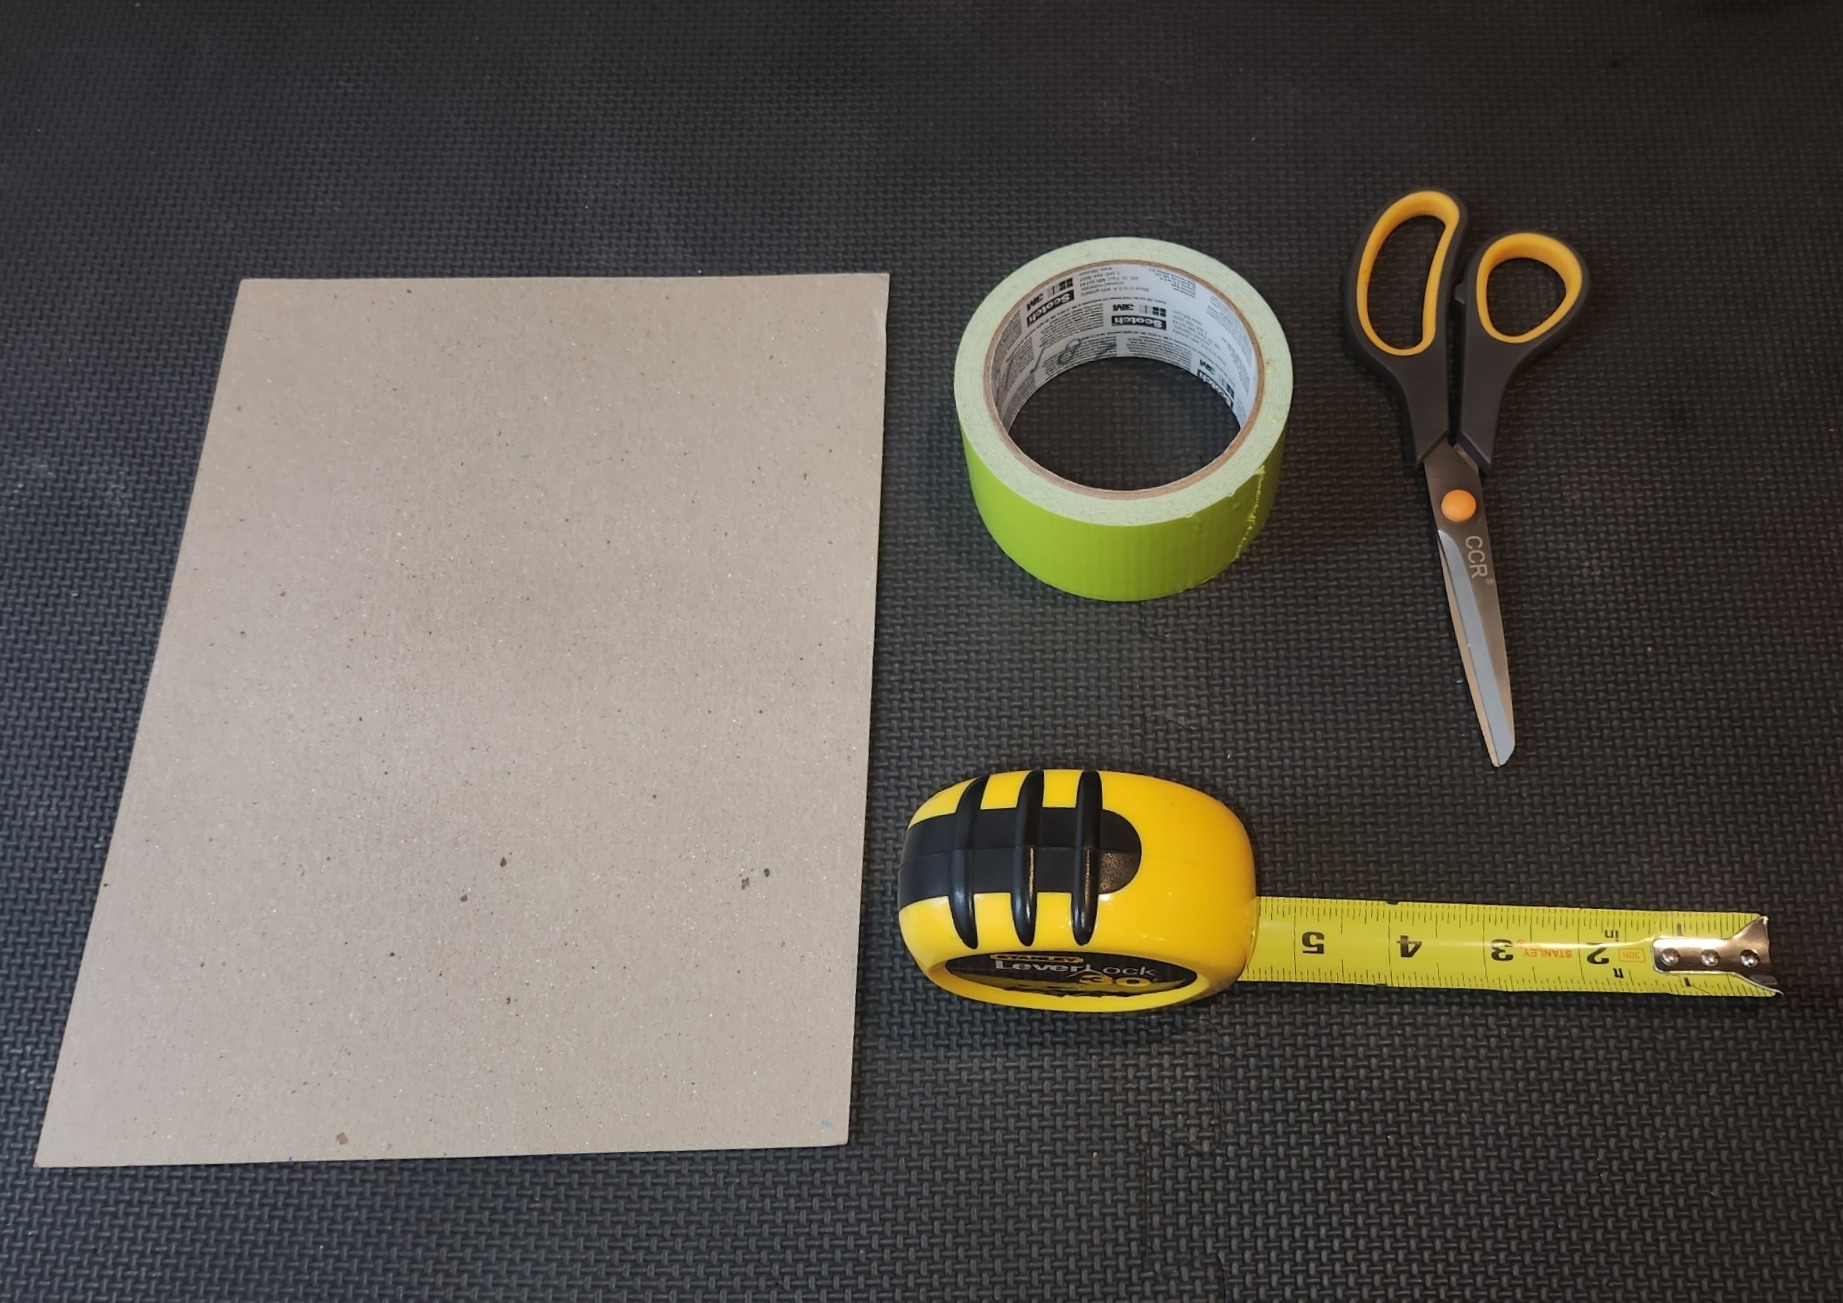
Step 1: Collect Your Materials
To begin, you'll need several materials. You'll need at least the following:
Measuring Tape
As you move through this project we'll be measuring lots and lots to ensure the final product is the right size. You could use a ruler if you like, but keep in mind that the longest measurement we'll be taking is 21 inches, which might be easiest done with a tape measure.
Good Scissors
Tape can be tricky to cut through. If you've never invested in a solid pair of scissors, this might be a good opportunity. You'll need a tool that leaves you feeling confident you can cut in straight lines.
Craft Cardboard
In order to provide solid structure to the front and back covers, we'll be using some thin craft cardboard (or chipboard). This tutorial uses an 8.5x11 sheet.
Duct Tape
Your material! This will be the core component of the job below. Pick a bold (or stealthy) color, a pattern, or be a little adventurous and use gaffer tape instead.
Step 2: The First Layer of "Fabric"
This is where it all begins: laying down the first few pieces of duct tape. In order to do this right, we will need a piece of duct-tape fabric with the dimensions of 21" wide x 9" tall.
As you'll notice, working with duct tape is a bit messy. In the pictures here, you'll see how the ends are a bit frayed. As such, we'll be overshooting the final dimensions and then trimming off the excess at the end.
The First Strip of Duct Tape
Tear off a strip of duct tape that's 10" to 12" long. Lay it down on your surface sticky-side-up. Maybe pull out your measuring tape to confirm you have a length that you're happy with (and that will leave you some wiggle room for a margin of error!).
The Second Strip of Duct Tape
Tear off another strip of approximately the same length. Hold this sticky-side-up and lay it down parallel to the first piece so that it overlaps by no more than a quarter of an inch. Very carefully unstick your fingers from the adhesive and do your best to smooth out the seam you've just made between the two pieces.
Don't worry too much about small imperfections. Many of these will work themselves out when the final pieces come together.
Continue Laying Down Tape
Continue laying down tape until your duct tape fabric is larger than 21"x9". In the example pictured here, the fabric was closer to 22"x10", accounting for the inconsistencies in the lengths of duct tape.


Step 3: Add Craft Cardboard (a.k.a. Chipboard)
The previous step allowed for quite a bit of wiggle room. Your duct-tape deployment didn't have to be perfect. The imperfections from that step will start to disappear. However, in this step, you will begin to give your Everbook Cover a more permanent form.
Cut Your Chipboard
In this example, the Everbook will be using half-letter (i.e. 5.5"x8.5") paper for its bundles, folders, and loose-leaf pages. As such, the next step is to create half-letter sized sheets of chipboard.
To accomplish this, take a standard 8.5"x11" piece of chipboard and cut it in half.
Identify Center of Your Everbook Cover
Now you'll need that measuring tape. It's time to figure out where we think the middle of our Everbook Cover is.
Since the final version of this fabric will be 21" wide, line up the 10.5" mark on your measuring tape where you believe the center of your fabric is.
Apply the First Piece of Chipboard
This Everbook Cover will have a spine that's 1.5" wide. To create this, each of our pieces of chipboard need to be 0.75" off of that center mark.
Line up your first piece of chipboard so that it's right edge (closes to the "spine" of your Everbook) is aligned with the 9¾" mark on your tape measure, doing your best to center it vertically, so that there's an equal amount of duct-tape fabric above and below the chipboard.
Apply the Second Piece of Chipboard
Now you'll do the same thing with the second piece of chipboard. This time, alight the left edge of your chipboard with the 11¼" mark on your ruler and that the top and bottom edges are lined up with your previous chipboard.
If you did it correctly, you should have a 1.5" space between your chipboards from top to bottom.


Step 4: Add Your Second Layer of Duct-Tape Fabric
In this step, cover the entire surface of the sticky-side-up duct tape with another layer of duct tape. You may do so with strips parallel, perpendicular, or any other direction you so desire.

Step 5: Mark & Trim for Final Dimensions
The last significant step. You really almost have your very own, do-it-yourself, duct-tape fabric Everbook cover. As a reminder, the target dimensions are 9 inches tall by 21 inches wide. Let's go!
Grab a Sharpie
Duct tape is a tricky surface to write on. You might be used to using a pencil for this sort of work. In this case, you might be better off with a fine-tip sharpie to make easy-to-see lines on your duct tape.
Mark Your Height
Perhaps the easiest way to do this is to find the top of your chipboards, if you can discern them through the tape, and measure ¼" from the top and from the bottom. However you do it, you'll want to draw a line the full width to ensure you know where to make your cut, ensuring you end up with something that's 9" tall.
Mark Your Width
Again, if you can discern your chipboards, you can measure 4¼" from the outside edge of each chipboard to find the horizontal bounds of your fabric. However you do it, ensure you have a final product that's 21" wide.
Trim Off the Excess
Got your scissors? Good! Time to follow those lines. Be sure your scissors cut along the inside edges of your lines, so you don't end up with a bold black outline in your final product.
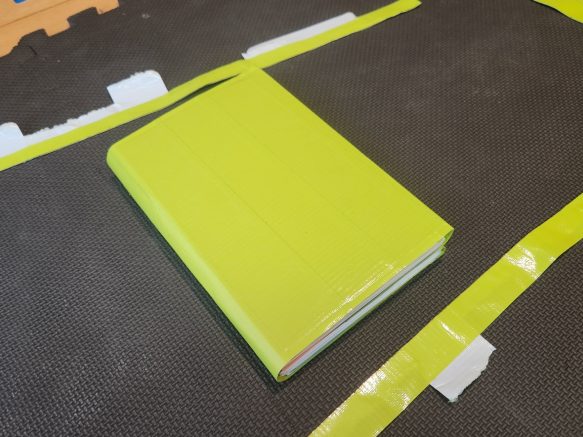
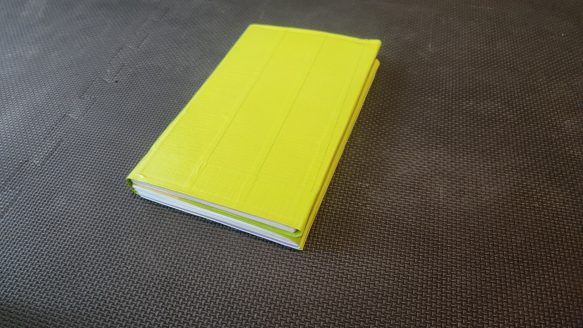
Fold it Up
All that's left to do is put it into its proper shape. Congratulations! An Everbook by you and for you. Good luck out there!


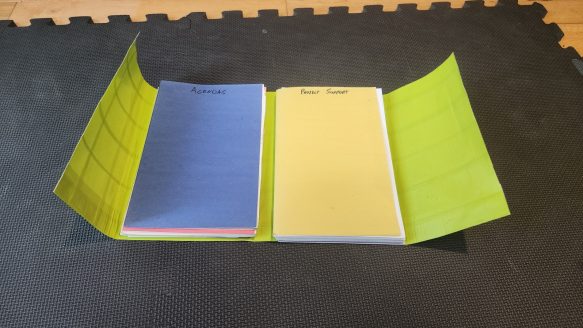
Enjoy Your New Everbook!